V.1.23 Pompeii. House of Faustus. Excavated 1844, 1875.
Rear entrance at V.1.10. Linked to V.1.24 and VI.1.26.
For extra detailed information see Swedish Pompeii Project web site
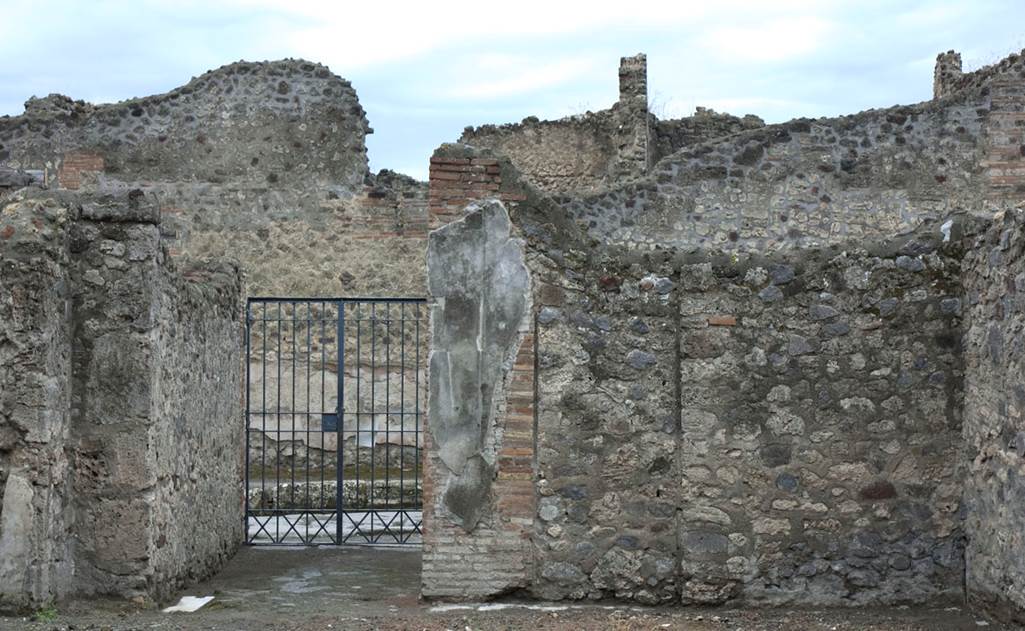
![V.1.23 Pompeii. December 2005. Entrance.
According to Della Corte, a curious electoral recommendation was found here and the house was named from the Fauste named in it:
Appuleium
II vir(um) rog(amus) o(ro) v(os) f(aciatis)
Fauste (h)[e]rniose (fac) [CIL IV 3421].
See Della Corte, M., 1965. Case ed Abitanti di Pompei. Napoli: Fausto Fiorentino. (p.99)
According to Epigraphik-Datenbank Clauss/Slaby (See www.manfredclauss.de) it read:
Appuleium
II vir(um) rog(at) o(ro) v(os) f(aciatis)
Fauste Prniose [CIL IV 3421].](5%2001%2023_files/image002.jpg)
V.1.23 Pompeii. December 2005. Entrance.
According to Della Corte, a curious electoral recommendation was found here and the house was named from the Fauste named in it:
Appuleium
II
vir(um) rog(amus) o(ro)
v(os) f(aciatis)
Fauste (h)[e]rniose
(fac) [CIL IV 3421].
See Della Corte, M., 1965. Case ed Abitanti di Pompei. Napoli: Fausto Fiorentino. (p.99)
According to Epigraphik-Datenbank Clauss/Slaby (See www.manfredclauss.de) it read:
Appuleium
II vir(um) rog(at)
o(ro) v(os) f(aciatis)
Fauste Prniose
[CIL IV 3421].
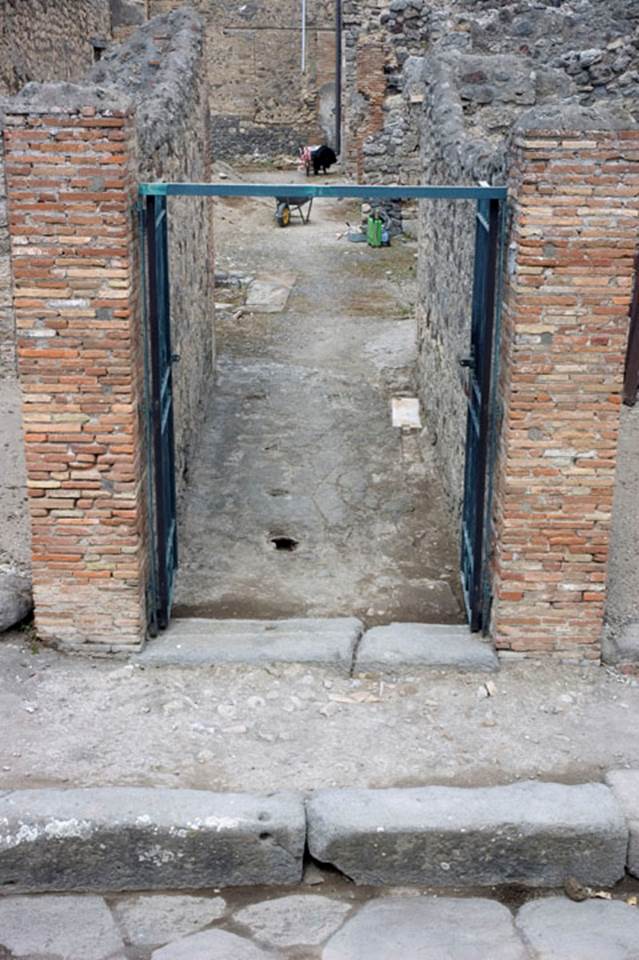
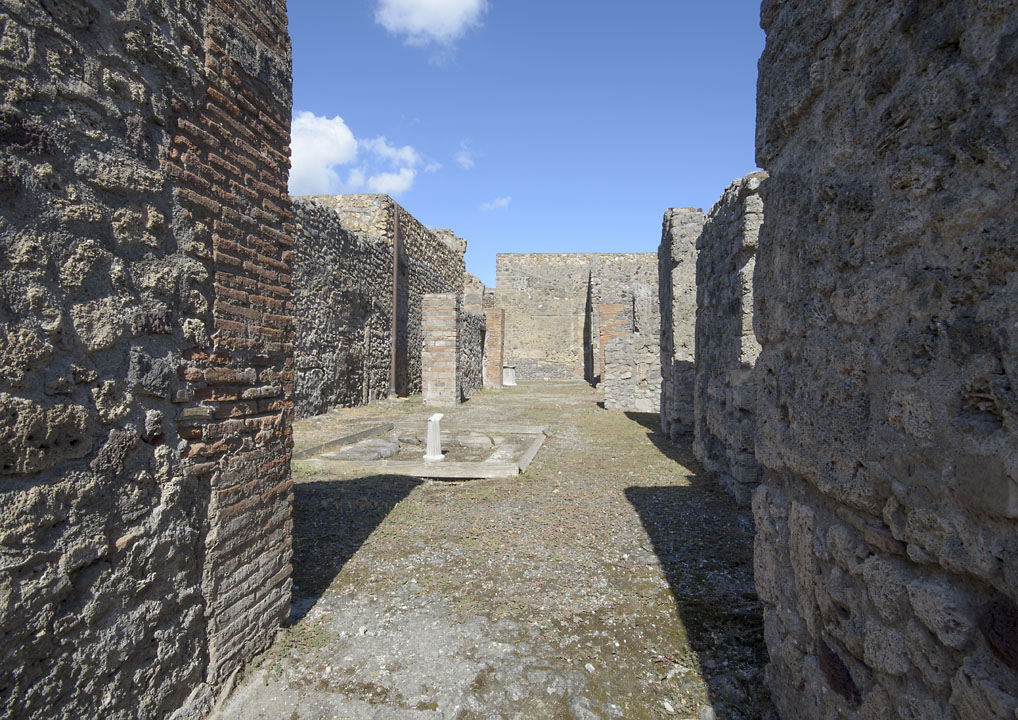
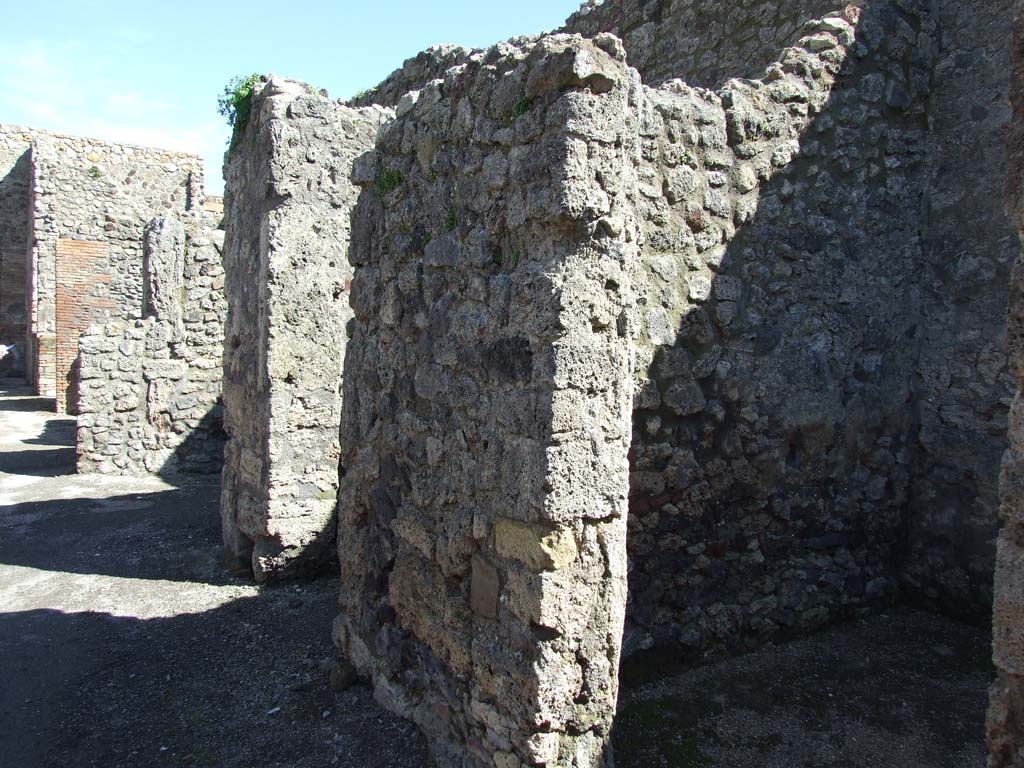
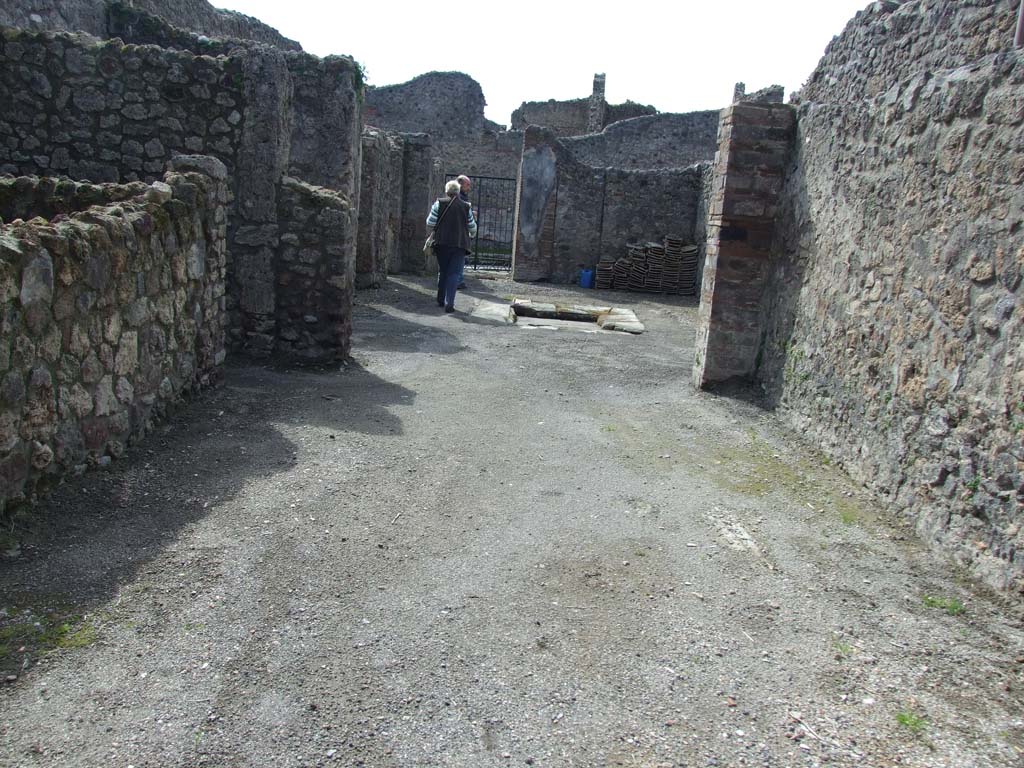
V.1.23 Pompeii. Looking east from entrance doorway on Via del Vesuvio.
Photo by Hans Thorwid.
Photo courtesy of the Swedish Pompeii Project.
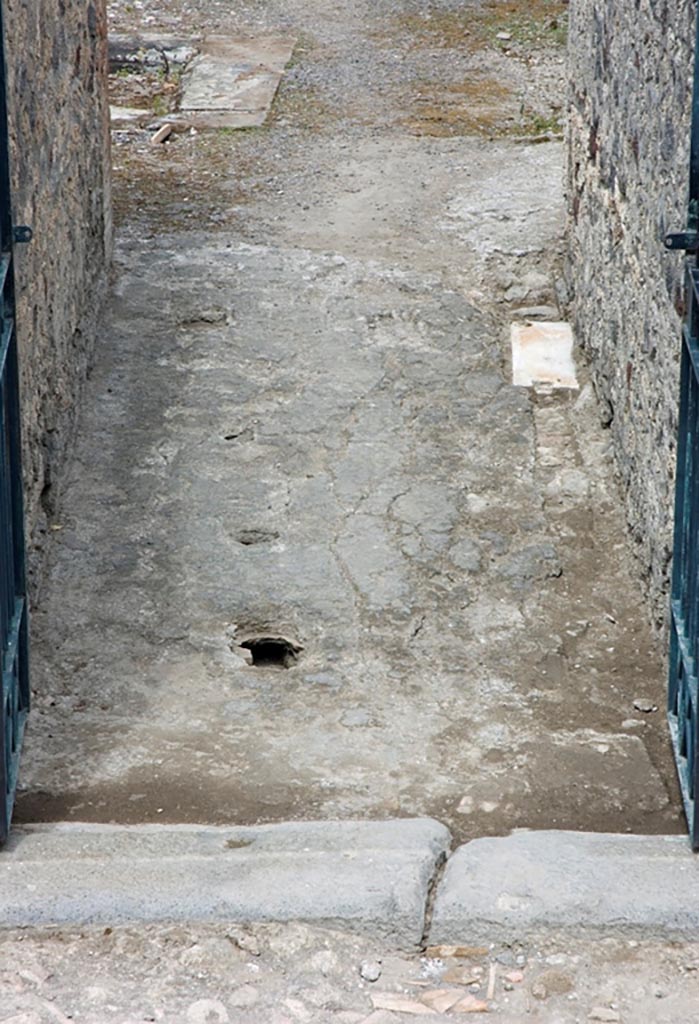
V.1.23 Pompeii. October 2020. Looking east from entrance. Photo courtesy of Klaus Heese.
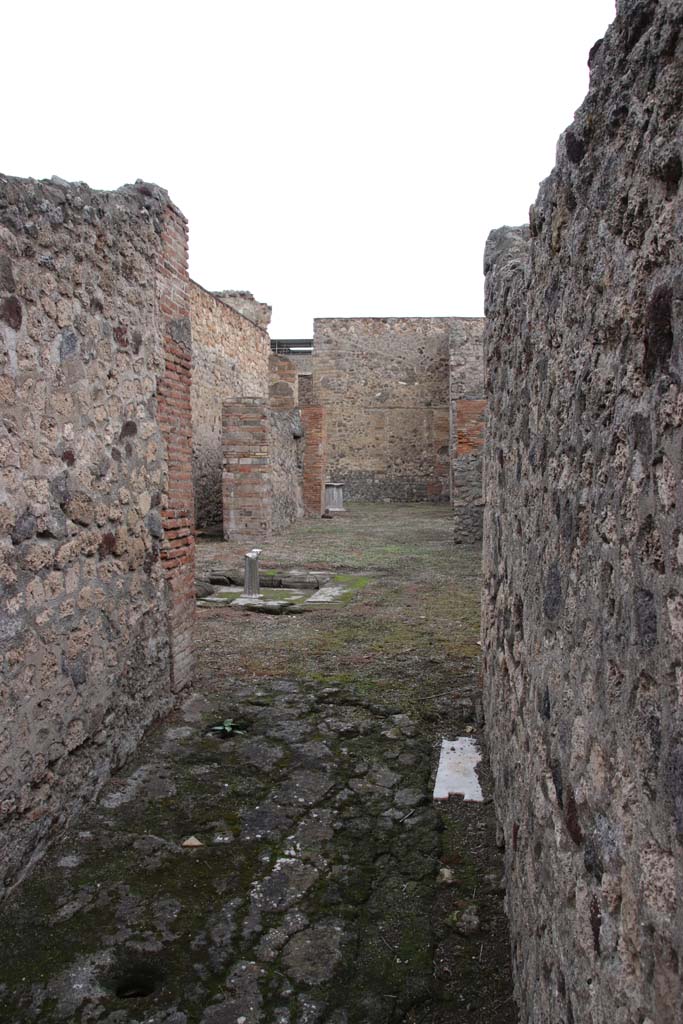
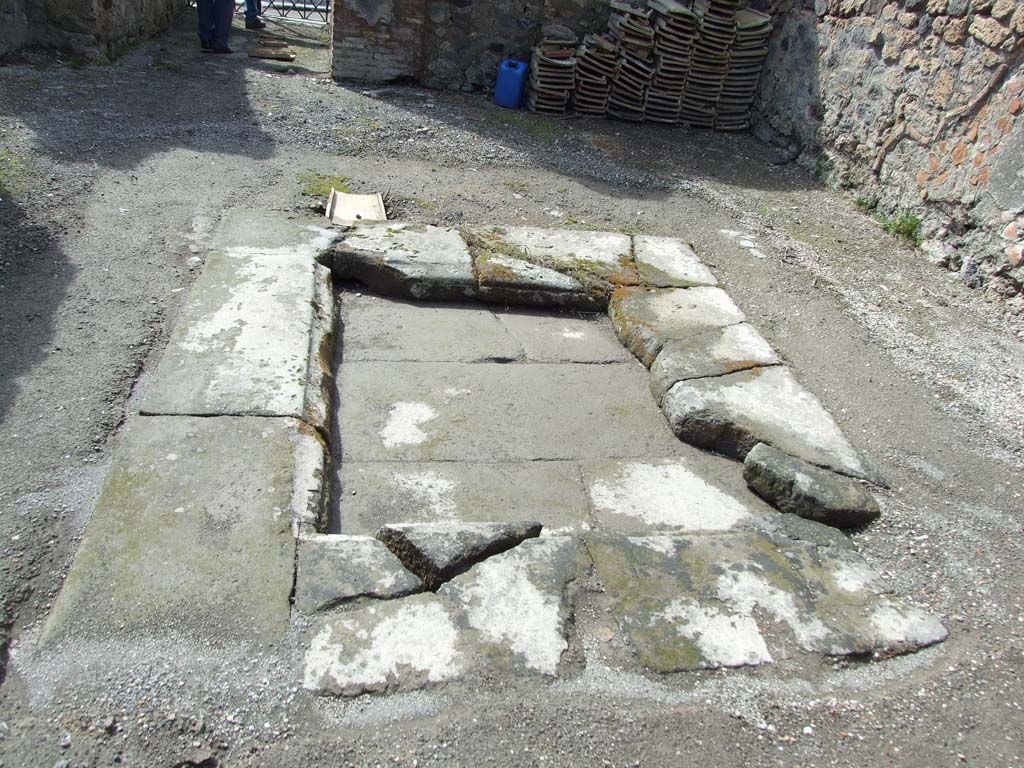
V.1.23 Pompeii.
Looking east from entrance doorway across flooring in entrance corridor/fauces “a”.
Photo by Hans Thorwid.
Photo courtesy of the Swedish Pompeii Project.
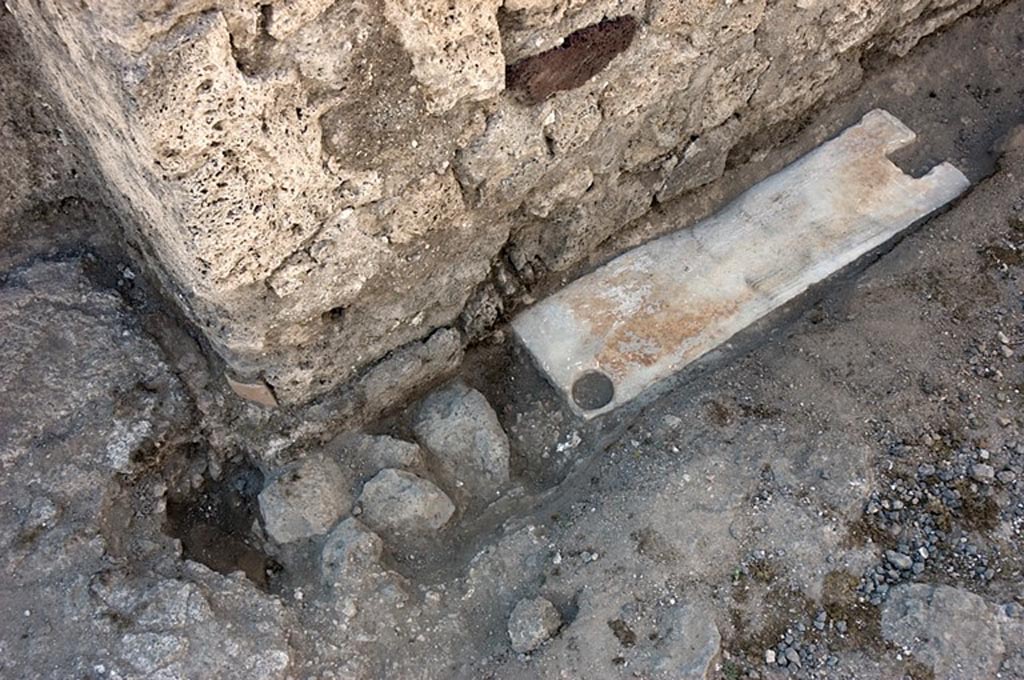
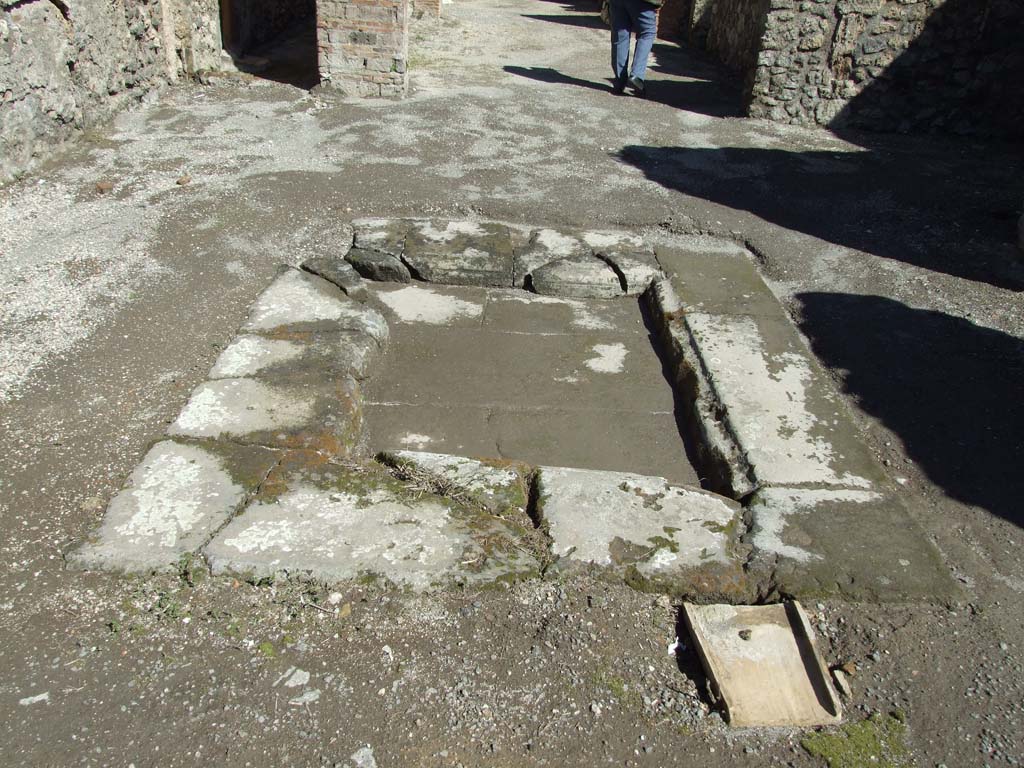
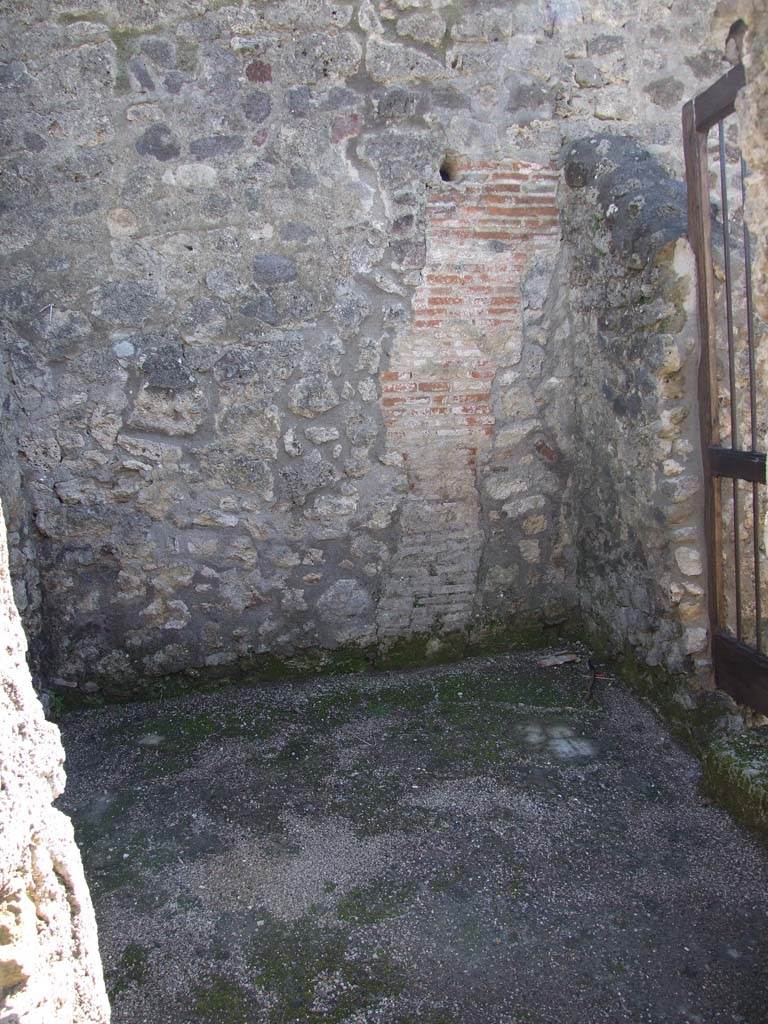
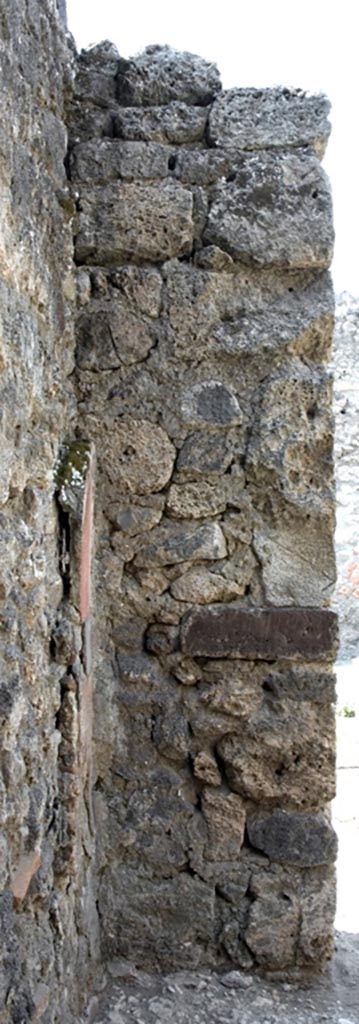
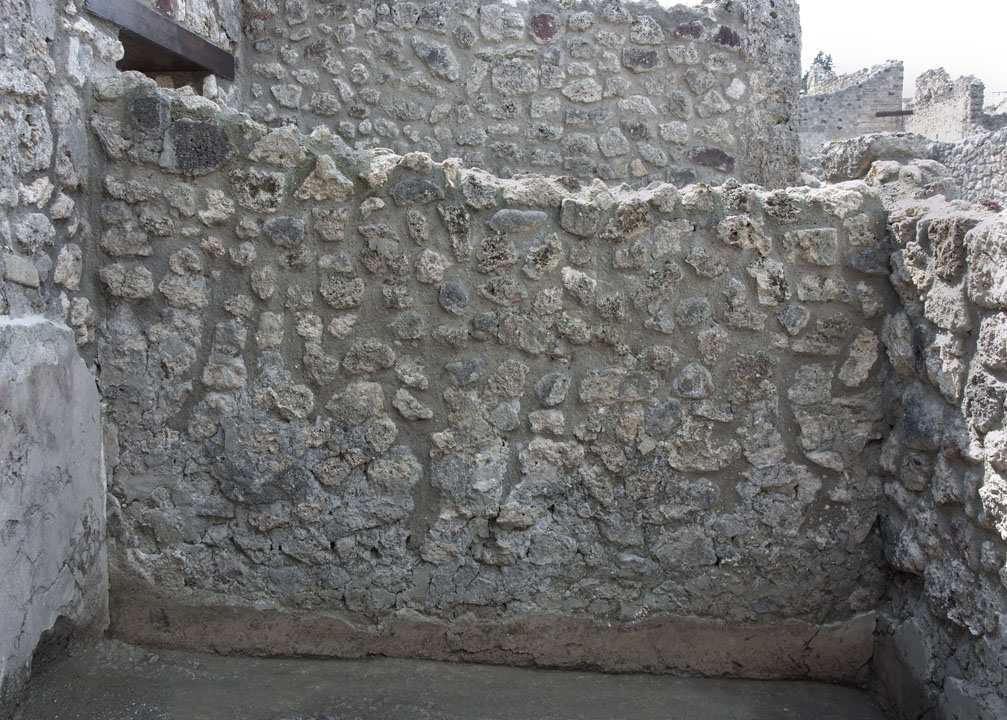
V.1.23 Pompeii. South wall at east end of entrance corridor/fauces “a”. Photo by Hans Thorwid.
“To the south it stops c. 10 cm north of the south wall in the fauces: there, in front of the south wall there is a travertine threshold, located in front of the south wall, dimensions 0.77 x 0.22 m.”
Photo and words courtesy of the Swedish Pompeii Project.
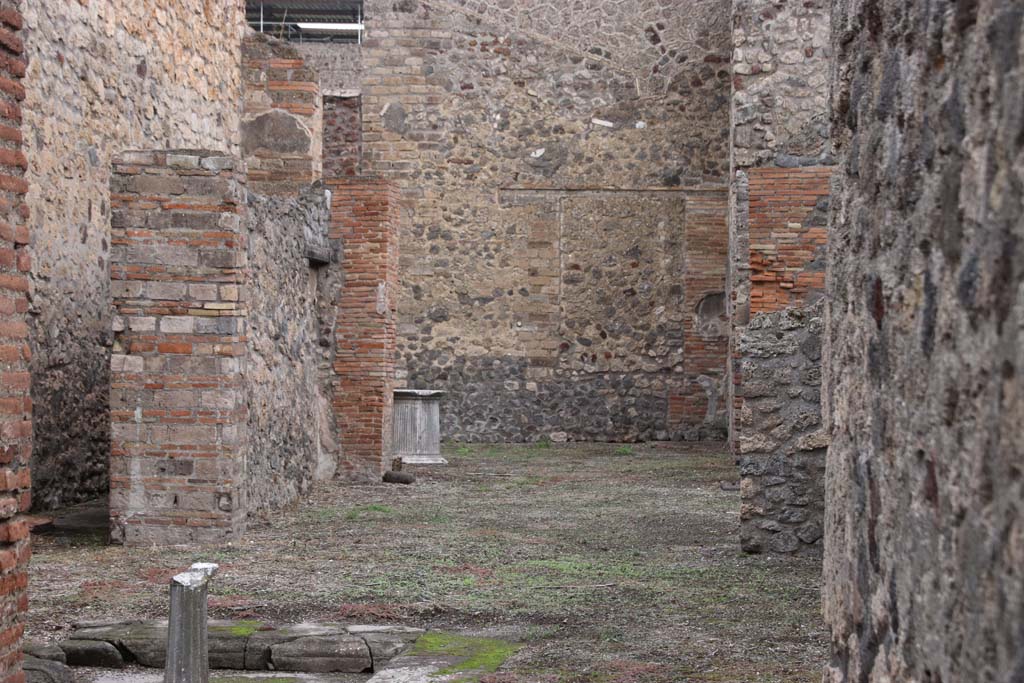
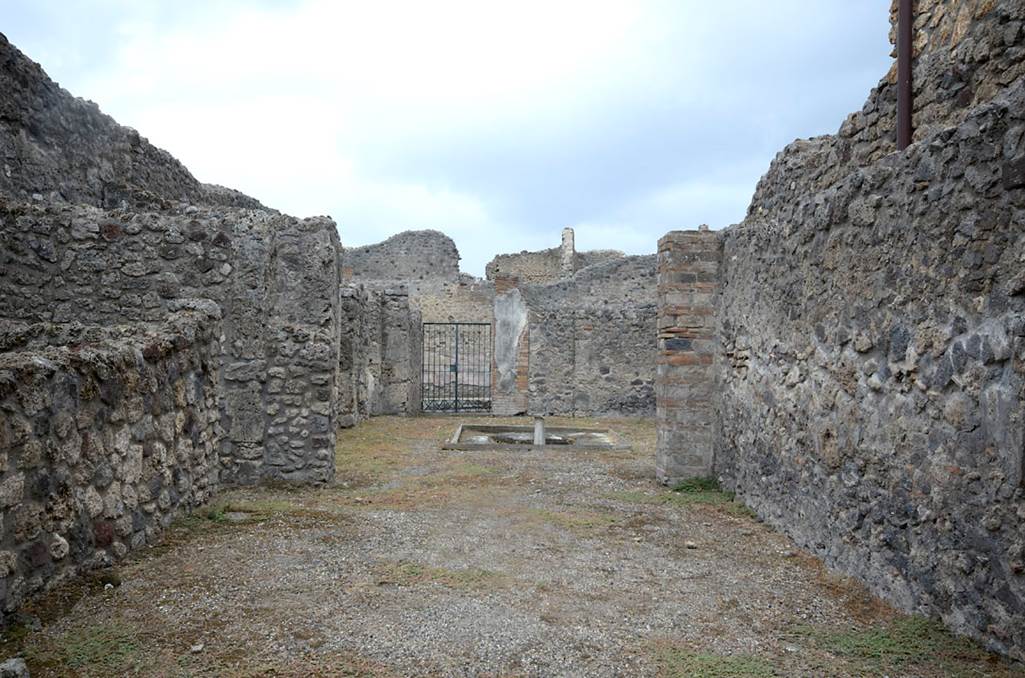
V.1.23 Pompeii. 2013. Looking east across atrium from entrance corridor/fauces “a”. Photo by Hans Thorwid.
Photo courtesy of the Swedish Pompeii Project.
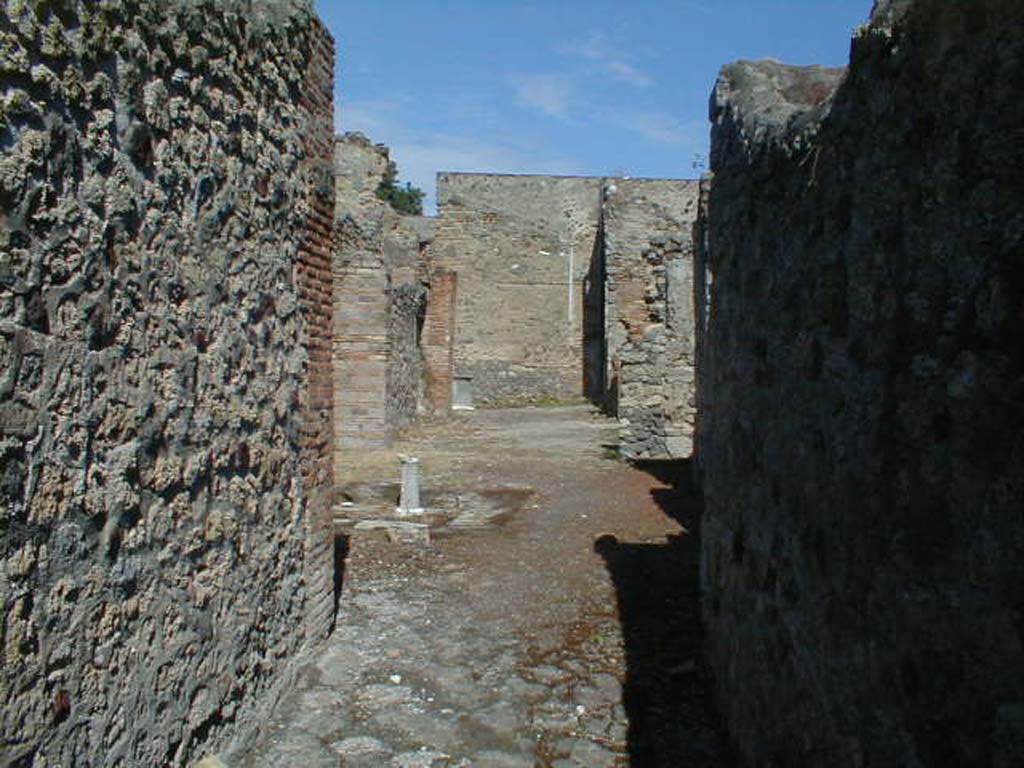
V.1.23 Pompeii. September 2004. Looking east from entrance.
According to Garcia y Garcia, during the aerial bombardment of the night of 16th September 1943, the entrance corridor and three surrounding rooms were destroyed.
See Garcia y
Garcia, L., 2006. Danni di guerra a Pompei. Rome: L’Erma di Bretschneider. (p.62).

V.1.23 Pompeii. March 2009. Room “b”, looking east across atrium.
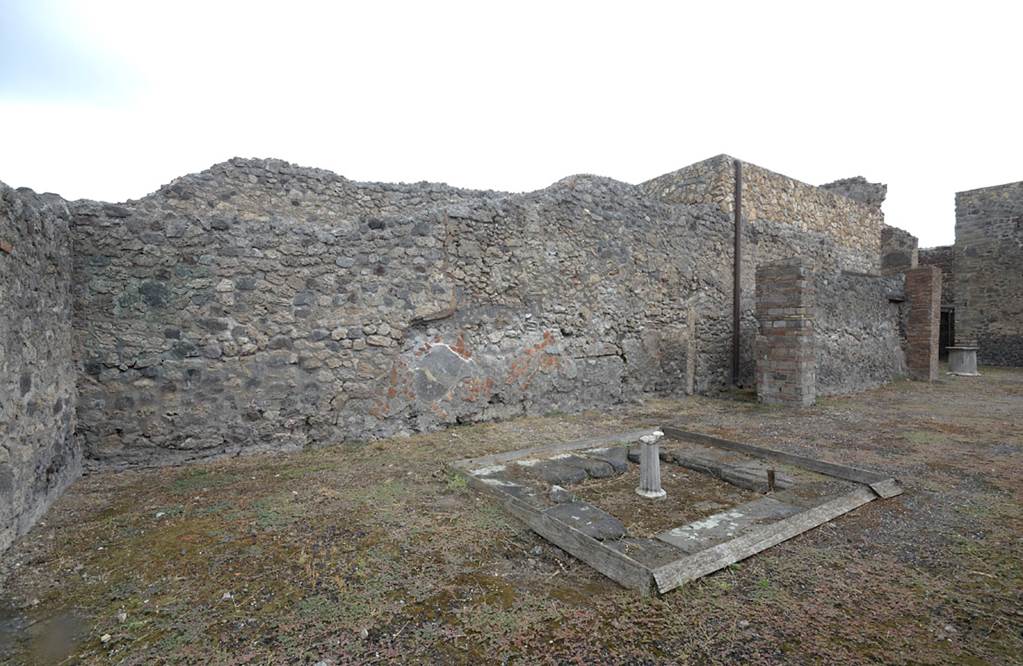
V.1.23 Pompeii. Room “b”, looking towards north wall of atrium. Photo by Hans Thorwid.
Photo courtesy of the Swedish Pompeii Project.
V.1.23 Pompeii. Room “b”, looking south across atrium. Photo by Hans Thorwid.
Photo courtesy of the Swedish Pompeii Project.
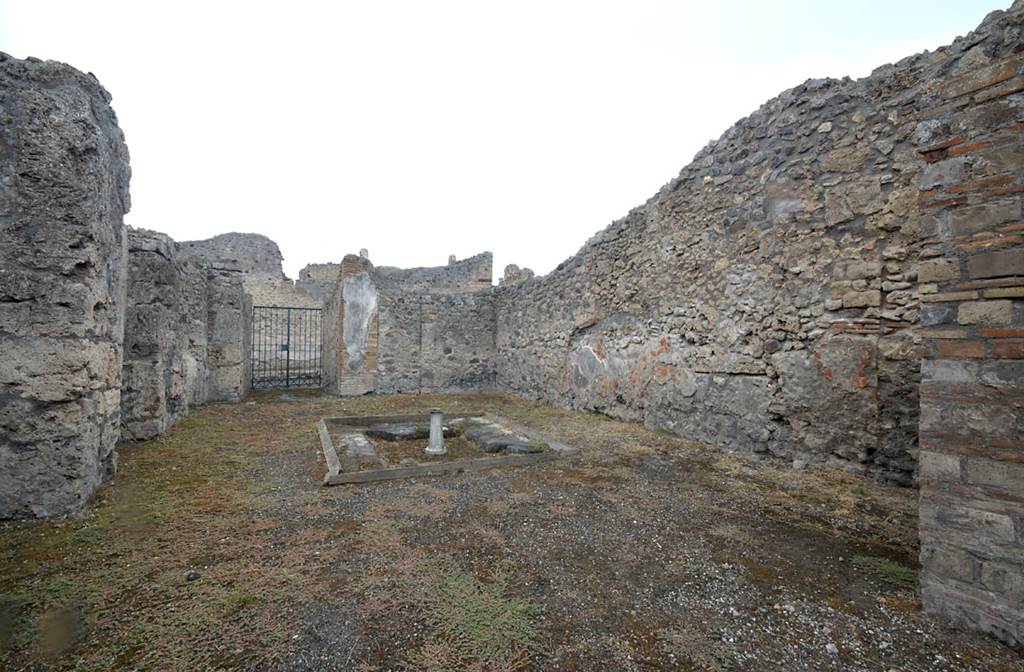
V.1.23 Pompeii. Room “b”, looking west across atrium. Photo by Hans Thorwid.
Photo courtesy of the Swedish Pompeii Project.
V.1.23 Pompeii.
Room “b”, looking towards north-west corner of atrium, with blocked doorway into V.1.22. Photo by Hans Thorwid.
Photo courtesy of the Swedish Pompeii Project.

V.1.23 Pompeii. October 2020. Room “b”, looking east towards impluvium in atrium. Photo courtesy of Klaus Heese.
V.1.23 Pompeii. March 2009. Room “b”, impluvium in atrium. Looking east.
V.1.23 Pompeii. March 2009. Room “b”, impluvium in atrium. Looking west.
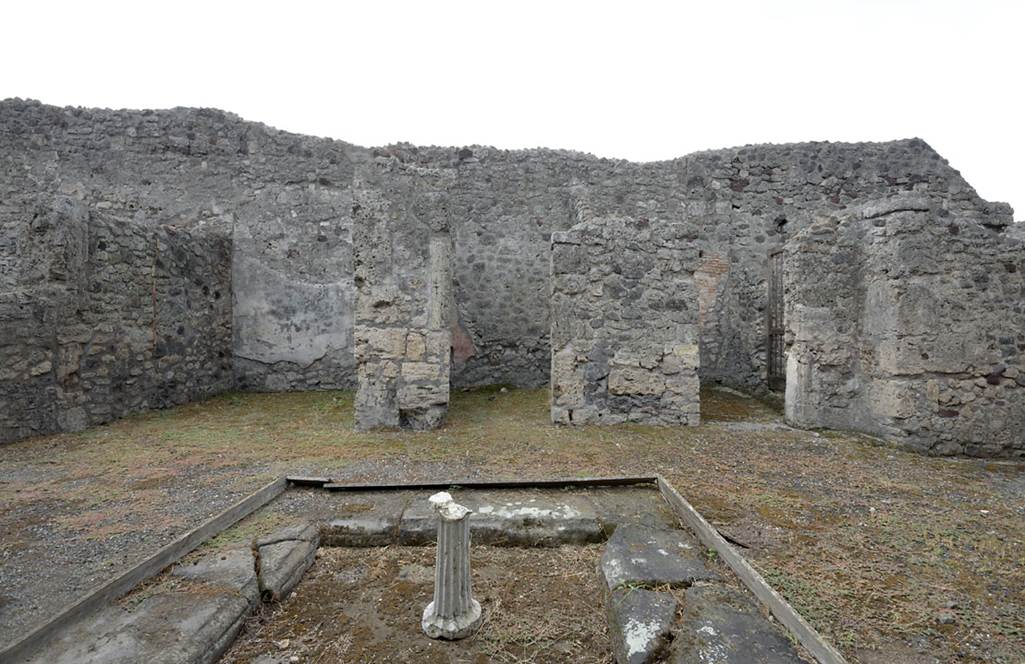
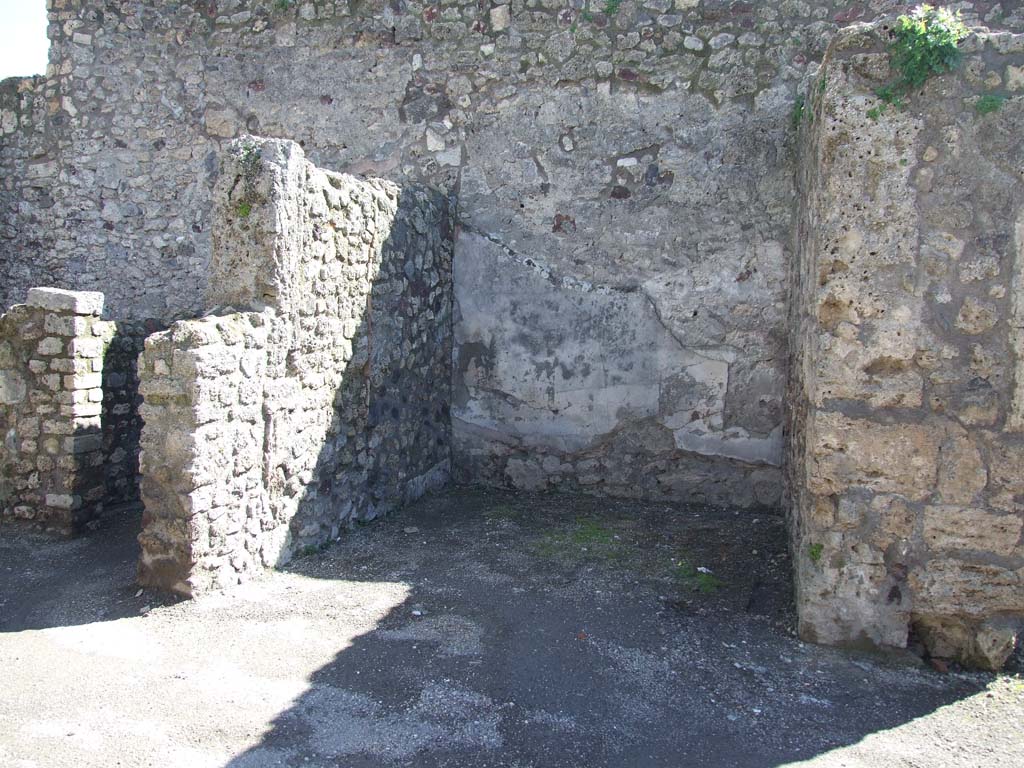
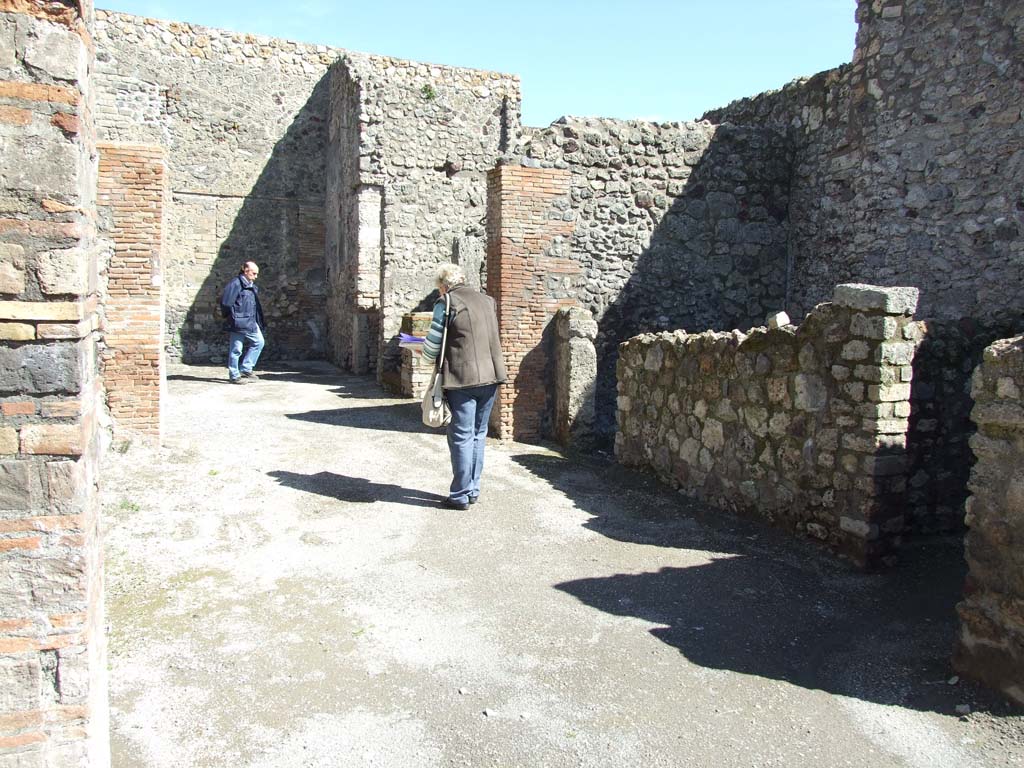
V.1.23 Pompeii. March 2009. Doorways to rooms “b”, “c”, and “d” on south side of atrium “b”.
V.1.23 Pompeii. March 2009. Room “b”, room in south-west corner at atrium.
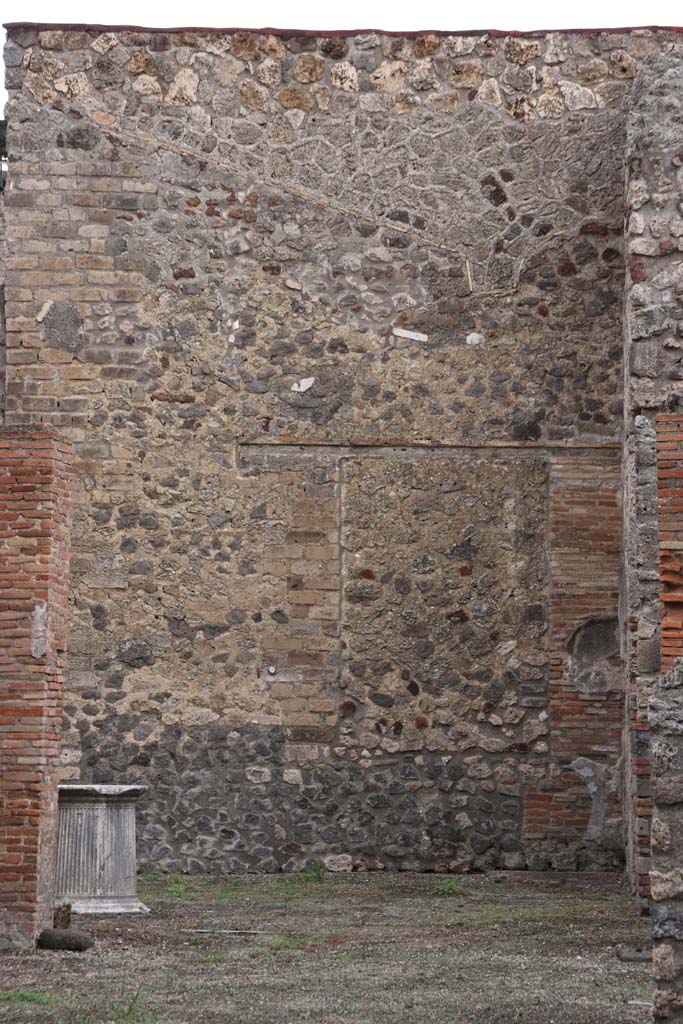
V.1.23 Pompeii. March 2009. Room “c”, doorway in centre of south side of the atrium.
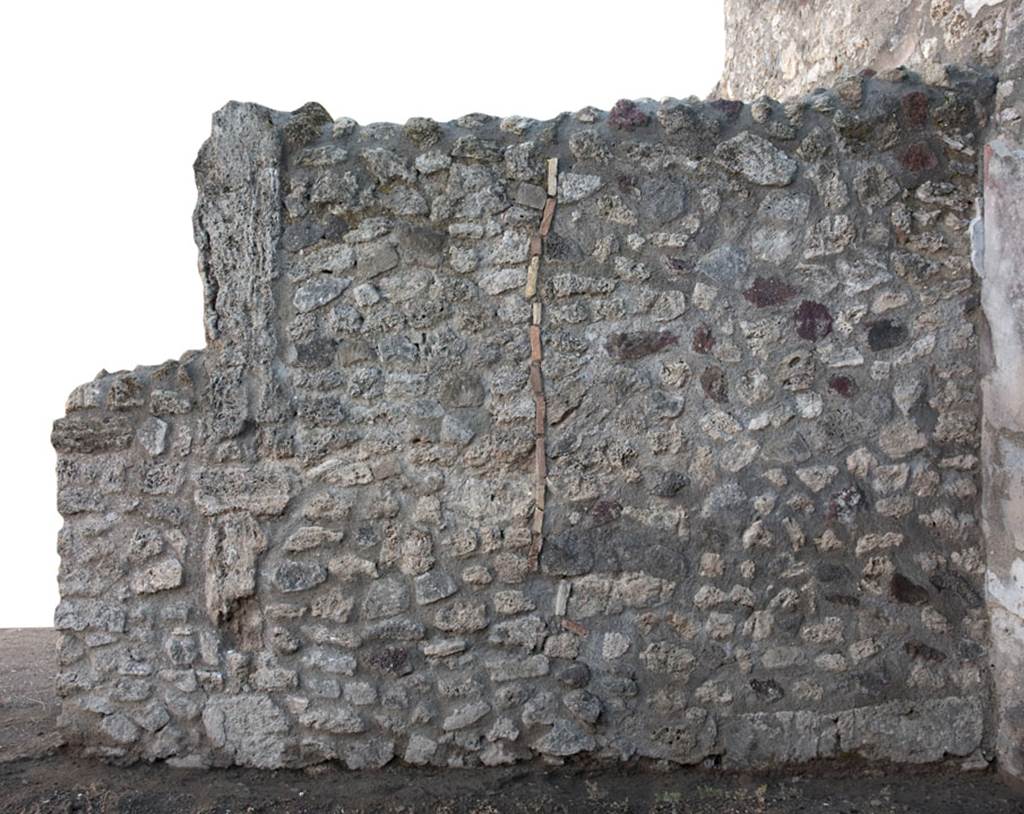
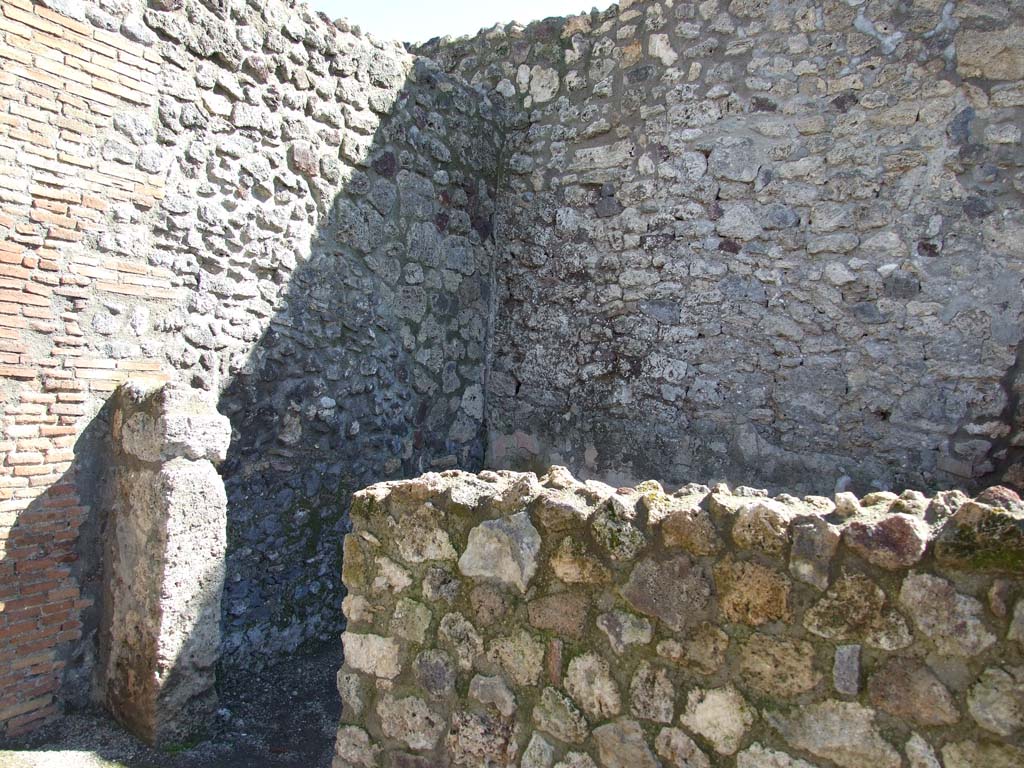
V.1.23 Pompeii. Room “c”, north wall in north-east corner. Photo by Hans Thorwid.
Photo courtesy of the Swedish Pompeii Project.
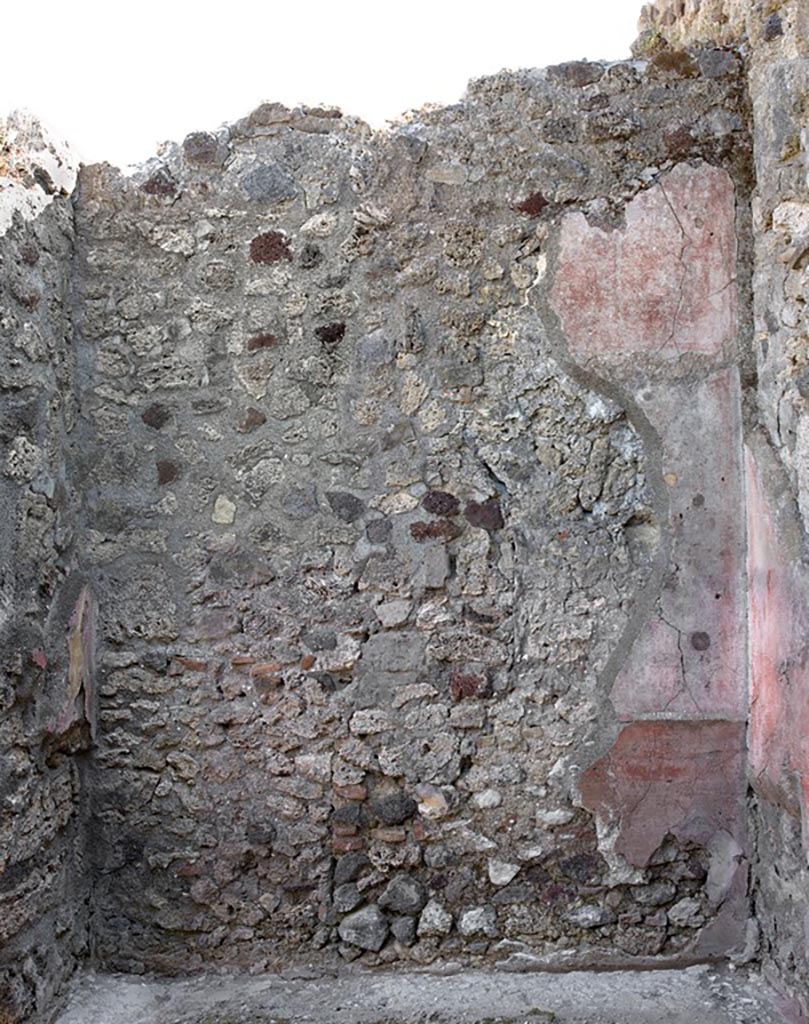
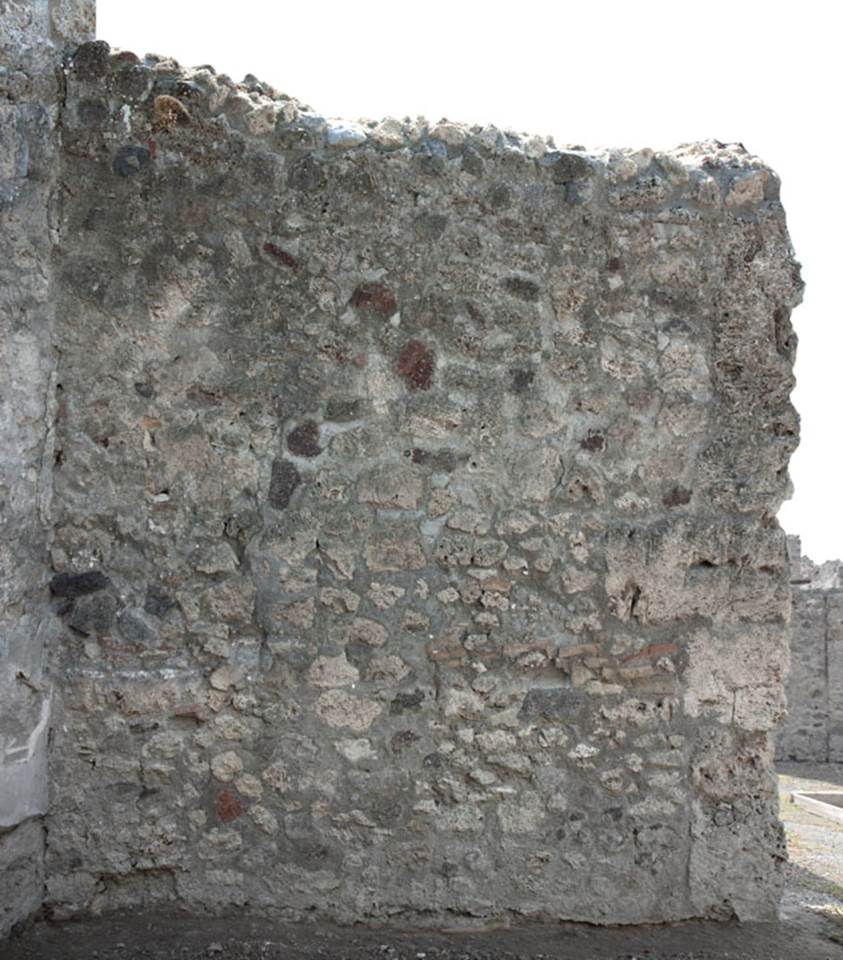
V.1.23 Pompeii. Room “c”, east wall. Photo by Hans Thorwid.
Photo courtesy of the Swedish Pompeii Project.
V.1.23 Pompeii. Room “c”, south wall. Photo by Hans Thorwid.
Photo courtesy of the Swedish Pompeii Project.
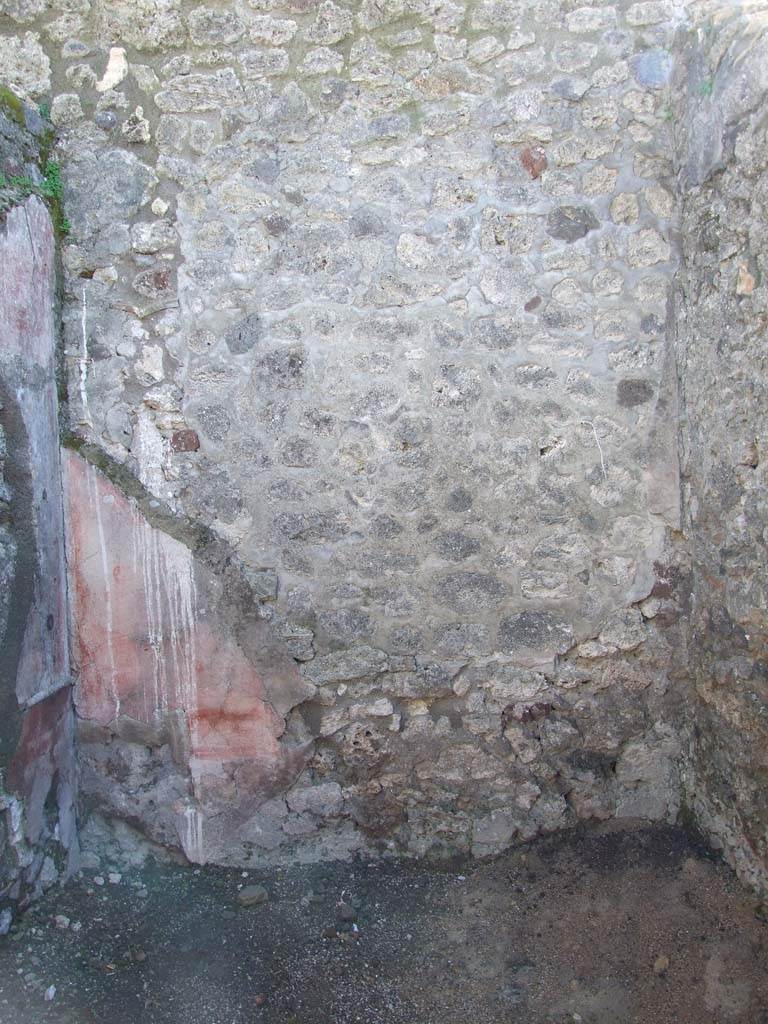
V.1.23 Pompeii. March 2009. Room “c”, south wall.
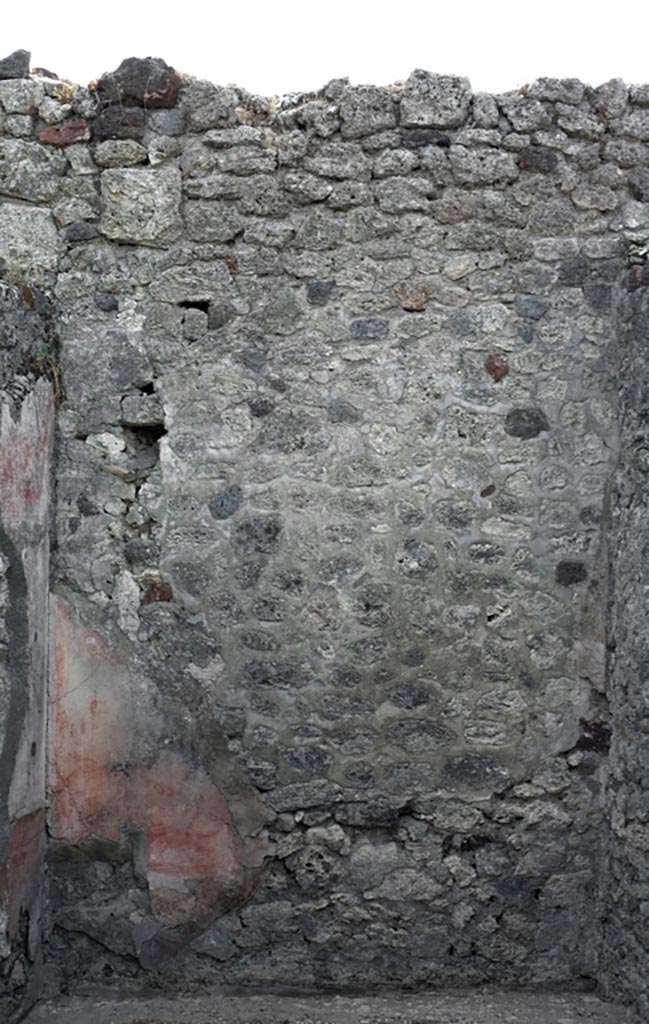
V.1.23 Pompeii. Room “c”, west wall. Photo by Hans Thorwid.
Photo courtesy of the Swedish Pompeii Project.
V.1.23 Pompeii. Room “c”, north wall in north-west corner. Photo by Hans Thorwid.
Photo courtesy of the Swedish Pompeii Project.
V.1.23 Pompeii. March 2009. Room “d”, ala on south side of atrium.
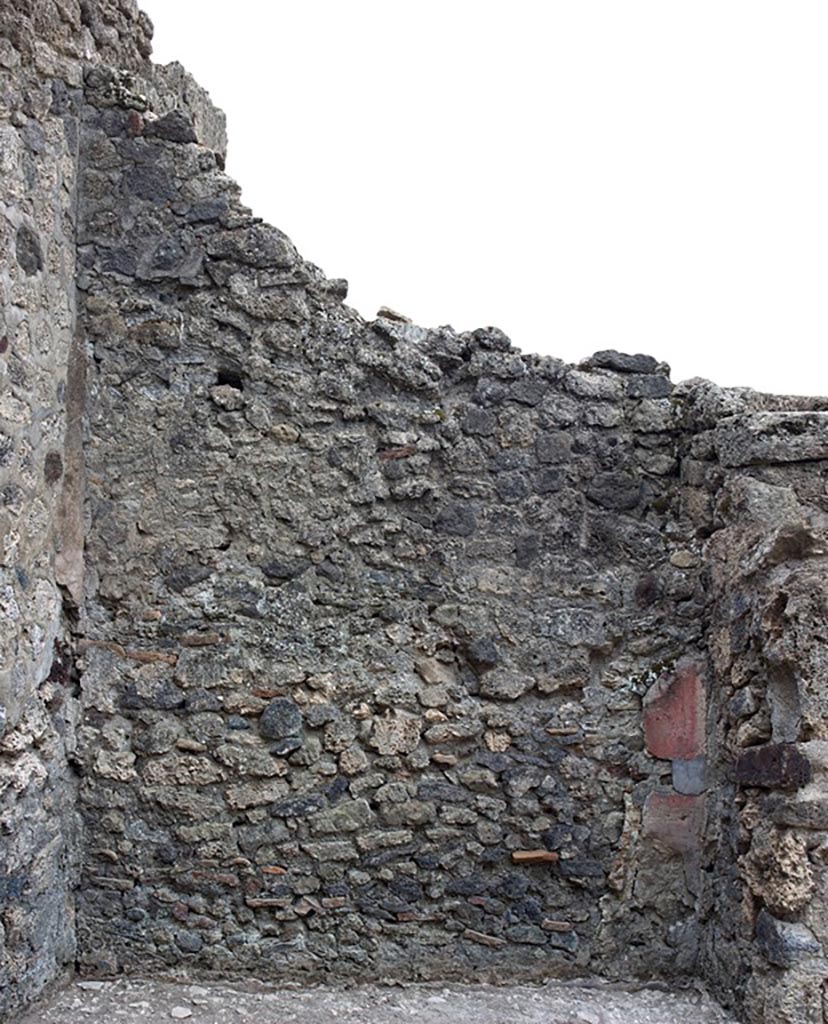
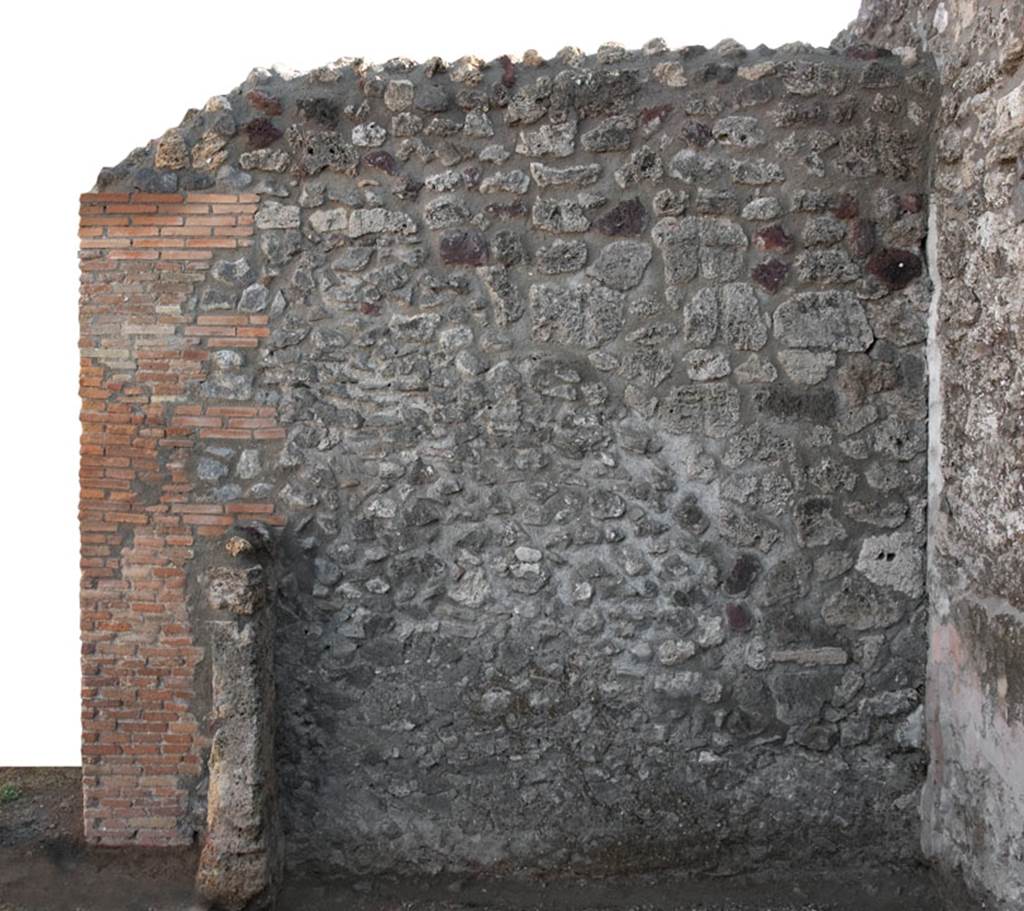
V.1.23 Pompeii. Room “d”, ala, east wall. Photo by Hans Thorwid.
Photo courtesy of the Swedish Pompeii Project.
V.1.23 Pompeii. Room “d”, Room 4, ala, south wall. Photo by Hans Thorwid.
Photo courtesy of the Swedish Pompeii Project.
V.1.23 Pompeii. Room “d”, ala, west wall. Photo by Hans Thorwid.
Photo courtesy of the Swedish Pompeii Project.
V.1.23 Pompeii. October 2020.
Room “e”, tablinum. Looking east across atrium into tablinum and through to rear. Photo courtesy of Klaus Heese.
V.1.23 Pompeii. October 2020.
Looking east through tablinum “e”, towards detail of rear wall. Photo courtesy of Klaus Heese.
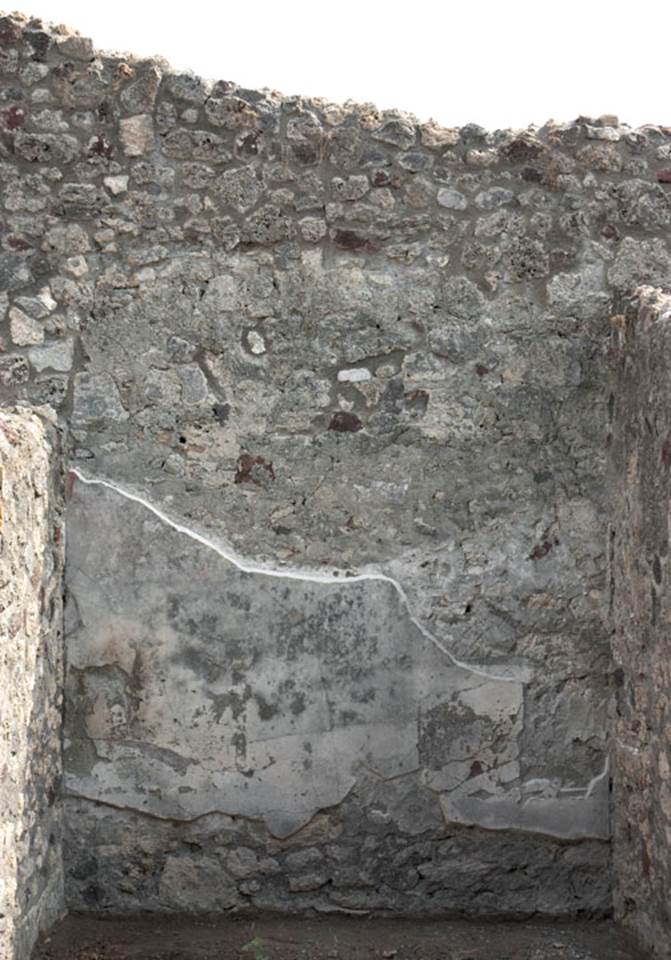
V.1.23 Pompeii. March 2009. Room “e”, tablinum. Looking south-east towards rear.

V.1.23 Pompeii. Room “e”, tablinum. Looking towards south wall. Photo by Hans Thorwid.
Photo courtesy of the Swedish Pompeii Project.

V.1.23 Pompeii. Room “e”, tablinum. Looking towards north wall. Photo by Hans Thorwid.
Photo courtesy of the Swedish Pompeii Project.
V.1.23 Pompeii. 2013. Room “e”, tablinum looking west towards entrance. Photo by Hans Thorwid.
Photo courtesy of the Swedish Pompeii Project.
V.1.23 Pompeii. March 2009. Room “e”, tablinum looking west towards entrance.

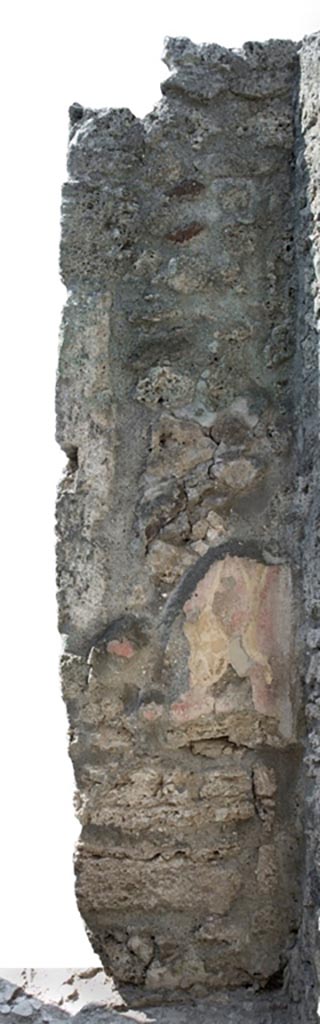
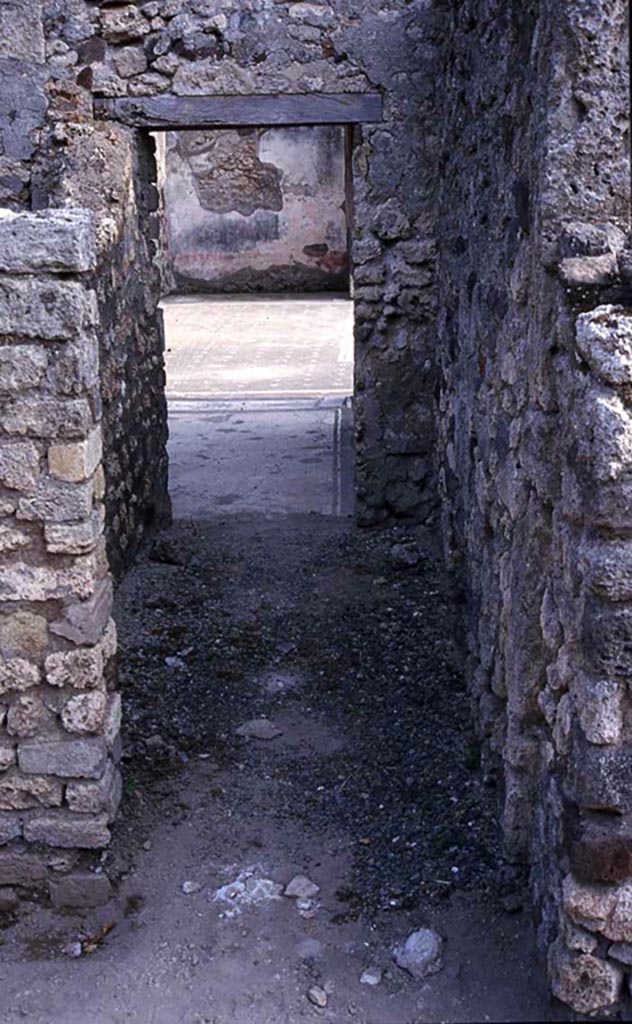
Room “i”, corridor on north side of tablinum, with remains of step. Looking east.

V.1.23 Pompeii. Room “i”, corridor, south wall. Photo by Hans Thorwid.
Photo courtesy of the Swedish Pompeii Project.
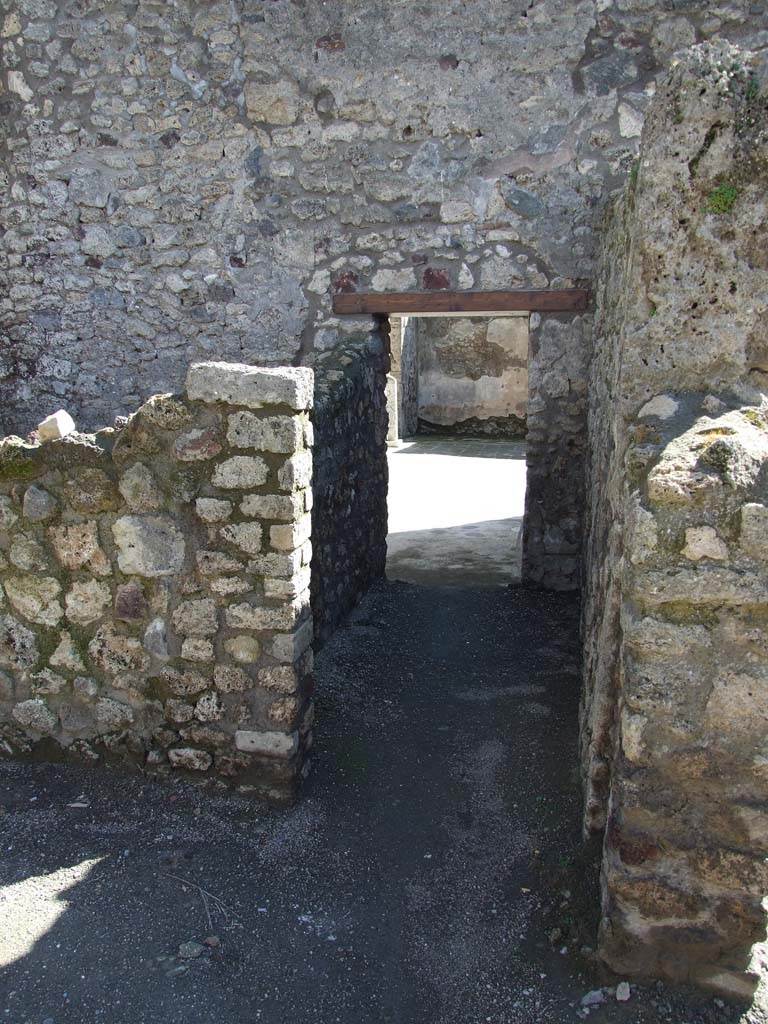
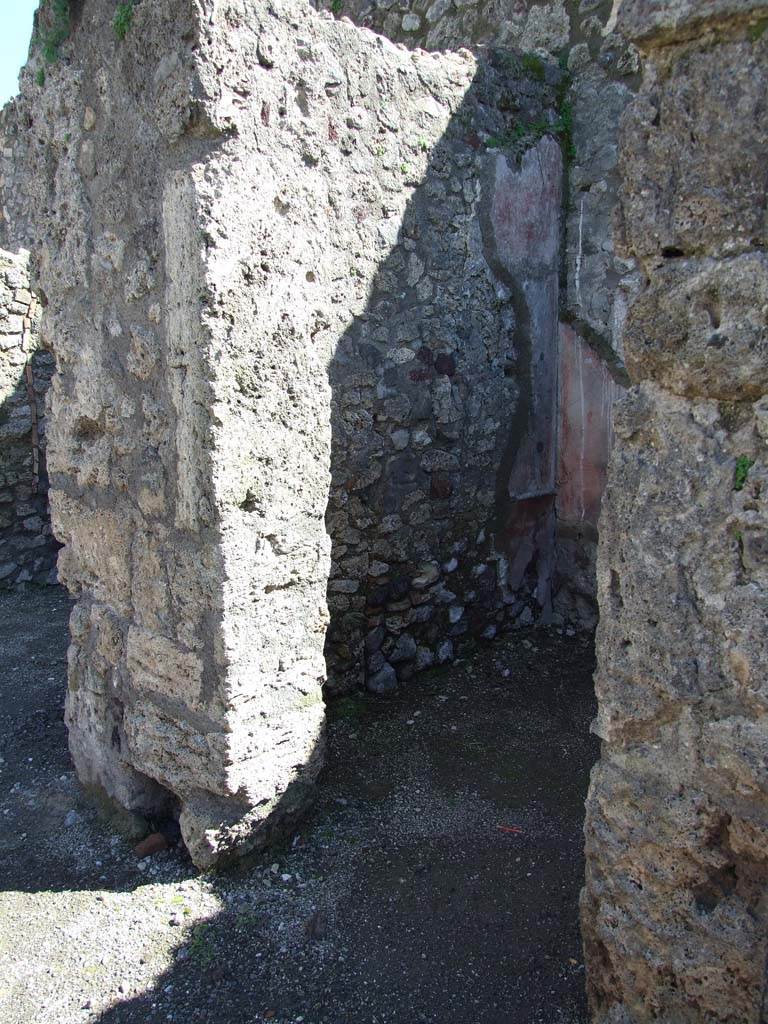
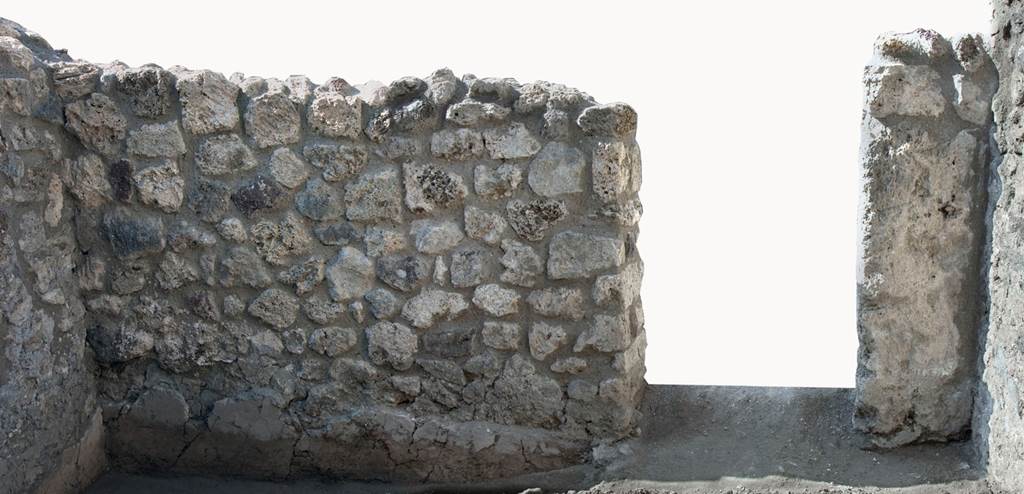
V.1.23 Pompeii. March 2009. Unnumbered passageway leading to ala of V.1.26.
V.1.23 Pompeii. Unnumbered passageway leading to ala of V.1.26.
Photo by Hans Thorwid.
Photo courtesy of the Swedish Pompeii Project.
V.1.23 Pompeii. March 2009. Room “f”, room on south side of tablinum area.
V.1.23 Pompeii. Room “f”, east wall of room on south side of tablinum area. Photo by Hans Thorwid.
Photo courtesy of the Swedish Pompeii Project.

V.1.23 Pompeii.
Room “f”, south wall of room on south side of tablinum area. Photo by Hans Thorwid.
Photo courtesy of the Swedish Pompeii Project.
V.1.23 Pompeii. Room “f”, west wall of room on south side of tablinum area. Photo by Hans Thorwid.
Photo courtesy of the Swedish Pompeii Project.
V.1.23 Pompeii. Room “f”, north wall of room on south side of tablinum area. Photo by Hans Thorwid.
Photo courtesy of the Swedish Pompeii Project.